
 Information: YAKINDU Statechart Tools Is Now itemis CREATE
In this blog post, you will learn in four simple steps how to use YAKINDU Statechart Tools to develop software for the Arduino platform. The example application is a simple pedestrian traffic light. We'll go through the process of installing the Arduino toolchain, setting up the example project, generating state machine code and uploading the executable to your Arduino together. This example may also be interesting for developers of other platforms – for example ARM CPUs like the STM32 platform, the Raspberry Pi or the Beaglebone. Integrating state machine code with your device specific code is pretty simple, as you will see!
The Statechart
If you have not already checked out the traffic_light example or if you are completely new to YAKINDU SCT, we'll now discuss briefly what the statechart does and how it works. Everyone else can safely skip this part.
At first, let's take a look at the statechart – one picture is worth a thousand words.

This state machine models a traffic light for pedestrians, so we basically have two traffic lights – one for the pedestrians, one for the cars. The model is based on the normal behaviour of a traffic light, as you would observe it on the street. The traffic light can either be completely switched off, the cars are allowed to go or the pedestrians are. These possibilities of course need to be mutually exclusive, so this is a good example of situations where a state-based design helps us to solve problems before they appear. Modeling the states beforehand instead of directly in our code also helps us to prevent problems.
The statechart is organized in two subcharts (modeled as Composite States), the Off-state and the On-state. On startup, the traffic light is off (marked by the black circle, the entry state). This subchart makes the yellow lights blink with a frequency of 1Hz. When an „onOff“-event is registered, the traffic light switches to the On-state, which is more complex internally.
At first, the traffic light resides in a „safe state“ when it is turned on, so both directions are not allowed to pass; both lights are red. After ten seconds, the traffic light goes through the states „StreetPrepare“, where the yellow light for the street is turned on, and „StreetGreen“ two seconds later – the cars are allowed to go. The traffic light stays in this state until the event „pedestrianRequest“ is raised. Here, the traffic light enters another substate in which the pedestrian's request is confirmed with the „please wait“ blinking light. This substate is left after seven seconds when the street's traffic light goes to „StreetAttention“ (red and yellow on), then to „StreetRed“ (cars are not allowed to pass anymore) and finally, the pedestrian green light is activated. After seven seconds, their traffic light is turned red again, and the circle continues in „StreetPrepare“.
This cycle can be left anytime when the event „onOff“ is raised again, which makes the statechart go to the „off“ composite state again (yellow lights blinking).
YAKINDU SCT is not only a statechart modeling tool, it goes one step further and generates code from our model. This means you don’t need to worry about modeling the behaviour of your system twice - once in a graphical manner, once in code. Code generators exist for multiple languages, for this example we will use Cvirtual. The generated code will then be interfaced by the main Arduino code from where you can raise events and react to the currently active state of the statechart.
Step 1: Install the Arduino Plugin

Because YAKINDU SCT is based on the Eclipse platform, you can add any available Eclipse plugin to your SCT installation. One of these is the Arduino plugin, developed by Jan Baeyens.
It enables you to develop software for the Arduino platform inside of Eclipse, instead of using the standard Arduino IDE. It comes with all needed libraries and a complete toolchain, so you can upload your program to the Arduino without leaving Eclipse.
You can find out more on the author's website, located at eclipse.baeyens.it.
(On windows, if you have not yet installed the standard Arduino IDE, do that now – it contains the needed drivers for the Arduino).
Assuming you already have a version of YAKINDU SCT running, go to Help → Install New Software. Copy http://www.baeyens.it/eclipse/V3 into the field „Work With“. Click on „Add“, give the ressource a name („Arduino“, for example), select the Arduino plugin and click Next. YAKINDU SCT will work a little bit, until you can click „Next“ again. Here, accept the license, and click finish. The download and installation process will start. YAKINDU SCT will warn you that the software is not signed, but you can safely confirm that.
Restart YAKINDU SCT, as requested. The plugin will download the toolchain and the required libraries and you are ready to go.
Step 2: Download the Arduino Project
For this example, we ported the already existing „traffic-light“ example, originally made for Java, to Arduino. There are some details involved which will be explained in a later article. For now, you can download the ported example. You don't need to unzip it.

In YAKINDU SCT, create a new generic project (File → New → Project… → General → Project). Call the project „traffic_light_arduino“ and finish. Right click the empty project, select Import… → general → Archive file. Select the file you just downloaded, and click finish. Voila!
Right-click the project and select „Build Project“. This should complete without errors.
If you want, you can look around. The statechart is the exact same one as in the standard „traffic_light“ example. However, the code generator is different, of course, and produces standard C code that you can utilize in your Arduino code.
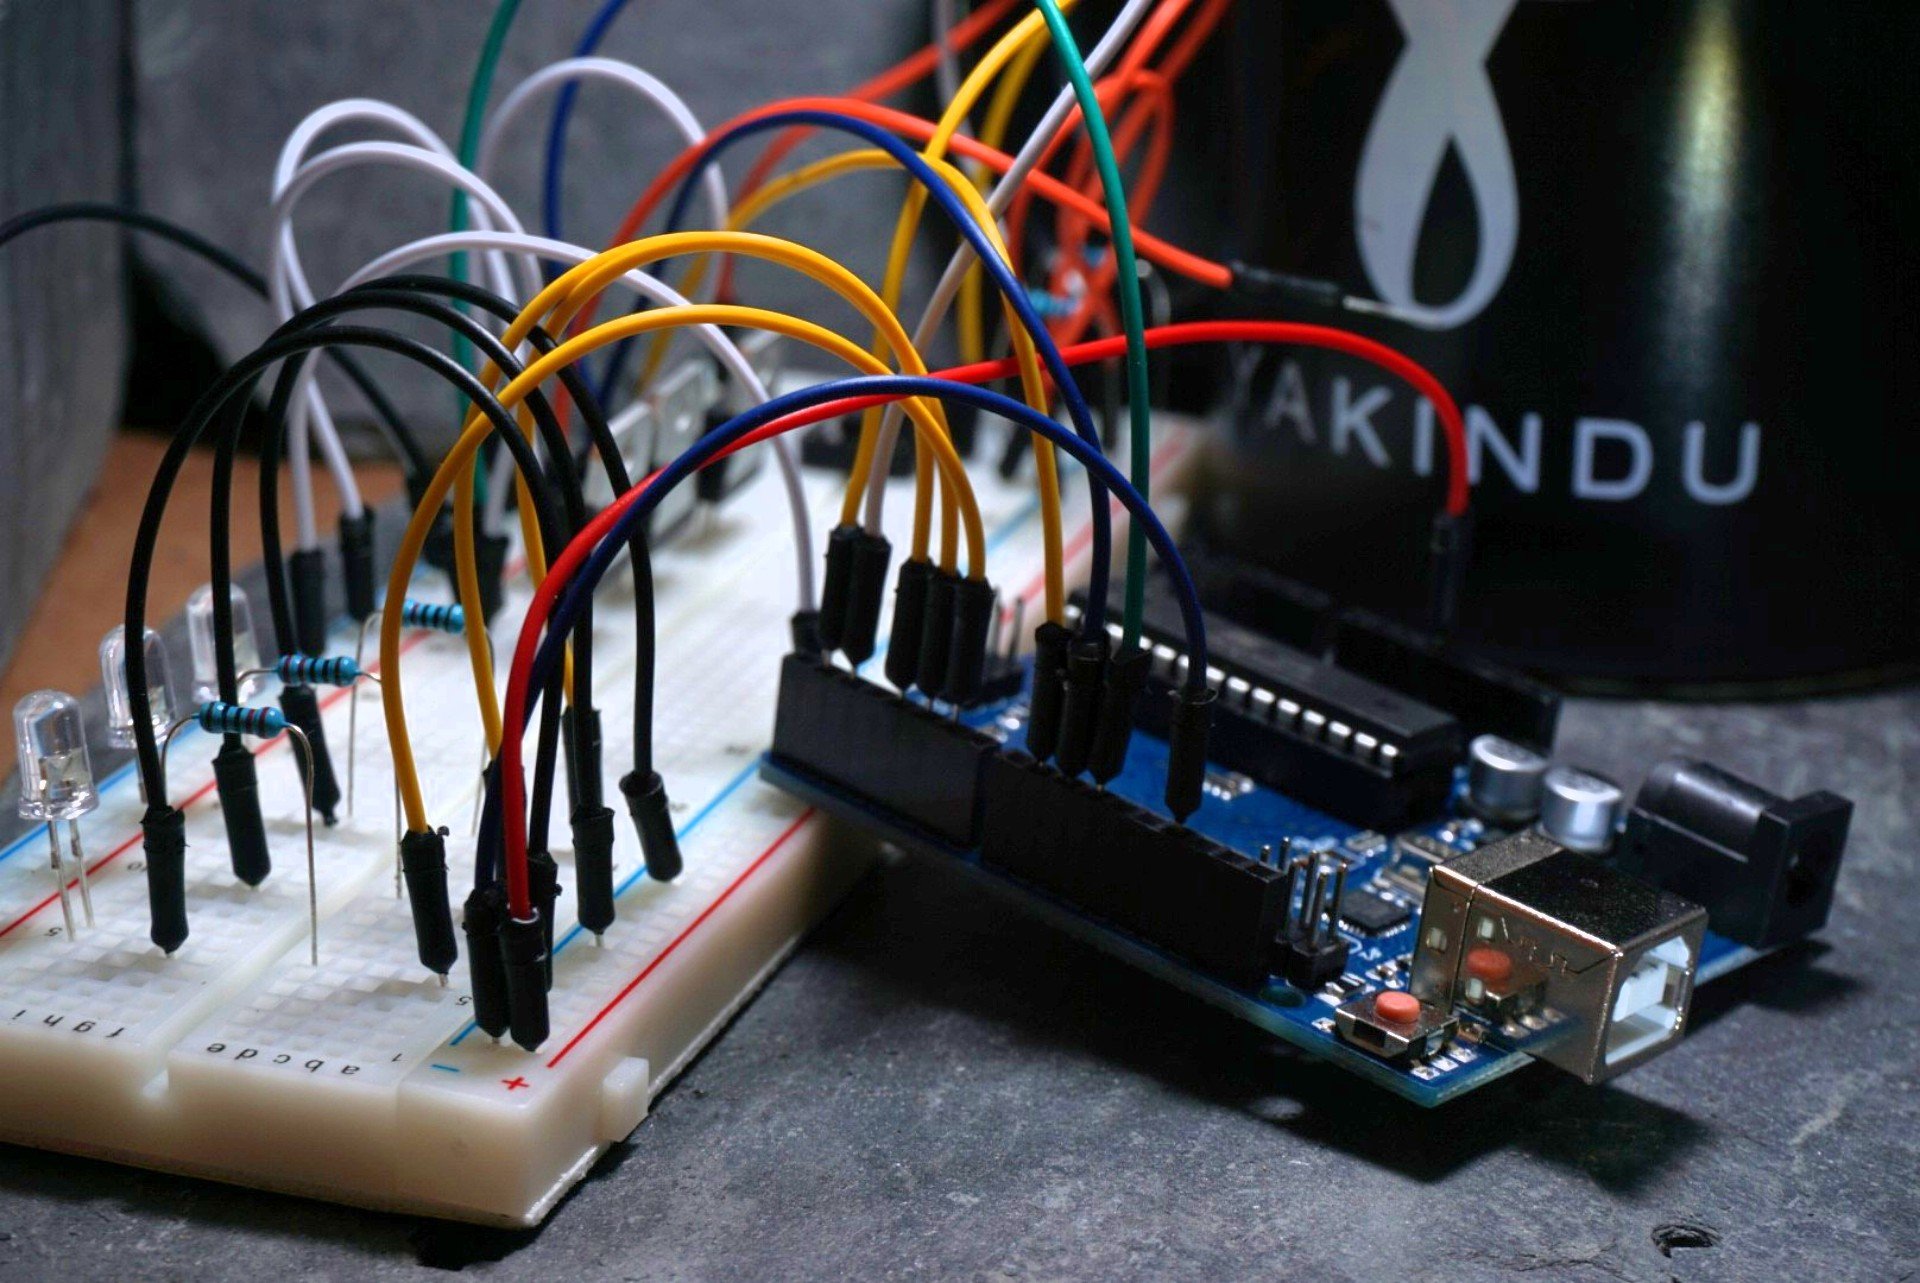
Step 3: Build the Hardware

Get your parts ready! You will need:
- 2 Pushbuttons
- 6 LEDs, ideally 2x red, 2x green, 1x yellow and 1x white.
- 8 Resistors: 2x 10kR or similar, 6x 220R or similar
Of course, you can change the pins, but since this represents the pin numbers in the software don't forget to change those as well!
Step 4: Upload!
Connect your circuit to the computer. Find out which port your Arduino is connected to. For example on Linux, open a terminal and type „dmesg“, this should give you the /dev/-path. On Windows, try System Control panel → Devices and Printers.
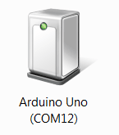
Here, you can see that the Arduino is connected to COM12 (on Windows). Now, in YAKINDU SCT, go to Project → Properties → Arduino, and put in the correct port here.
One click on the green arrow, and everything should work!
Summary
In this blog post, we checked what you need to do to develop for Arduino in YAKINDU SCT. We see that once you installed the toolchain, developing for embedded platforms isn't any more complicated than developing Java software. Some tiny details work differently, the timer service is one example – we will cover that in another article. The statechart itself is independent of the target platform. You can simulate and test the statechart directly in YAKINDU SCT, which is usually easier than in place debugging on your embedded device.
Thanks for reading this post, we hope we could inspire you to use YAKINDU SCT for your next Arduino project!
Comments