Developing large web applications with Angular is challenging, especially when it comes to structuring the code base into small, individually developed modules. Many projects struggle with this and start building huge monoliths instead.
A possible solution for this is to develop elements such as components and services as a library and include them into your application. However, getting this right is pretty hard and not well documented. This article sheds some light onto this topic and shall give you a starting point for developing your own Angular 4 compatible library.
General considerations
The requirements towards Angular 4 compatible libraries seem to be quite tough at first. It needs to be AOT compatible but should also support JIT compilation during development as well. It should also ship in various module formats to be consumed in different scenarios — an ES5 UMD bundle that can be consumed anywhere, a flat ECMAScript Module (ESM) bundle containing ES5 code to be consumed by Angular CLI and an ESM bundle containing ES2015 code to be future proof. Furthermore, the library needs to be properly tested. Integration testing is especially crucial as we want to make sure that others can consume our library both in AOT and JIT mode.
While it certainly is possible to create a project setup fulfilling these requirements from scratch it makes sense to use a seed project or project generator. There are a few Yeoman generators for that task that could be used (e.g. angular2-library or ngx-library), but they either lack support for testing, don’t work with the newest Angular version or are too opinionated. There is a quick start seed project by Filipe Silva who is an Angular team member which worked best for me and is referenced by the almost official third party library guide (currently WIP — see this pull request). Although having its own drawbacks, we’ll stick to it for now.
Hello Angular Library: Initial project setup
Clone or download the library seed into a new folder as described here. Afterwards you should be able to run:
npm install
npm run start
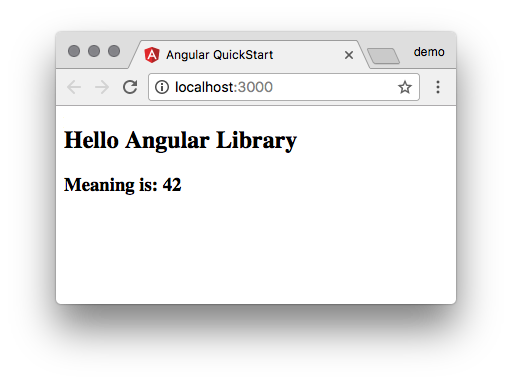
And see the following initial demo application:

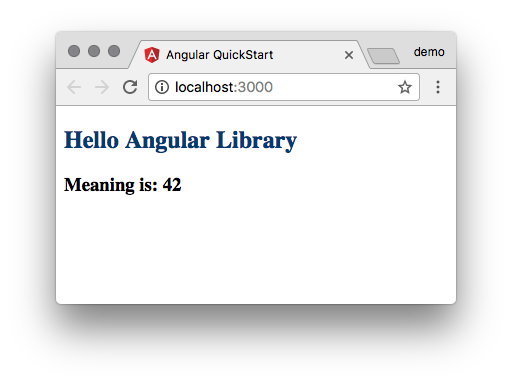
The demo application offers a live-reload server that allows you to interactively develop your application (just don't forget to write your tests first). Go ahead and add the following to src/lib/src/component/lib.component.css:
h2 {
  color: #00457c;
}
and see the color change into a nice blue immediately.

The code for this demo can be found on our GitHub repository itemis/itemis-blog on the branch angular-quickstart-lib. You can use the commit history of the project in order to see the diffs on each change.
Activating Travis for the project
Setting up Travis as CI for the new project is straightforward. Simply go to your profile and activate the repository - the .travis.yml is already provided by the seed project.
By the time of writing this, there is an issue with the used webdriver-manager that can be easily solved by editing the integration/package.json and modifying the line
"preprotractor": "webdriver-manager update",
in the integration/package.json by the line
"preprotractor": "webdriver-manager update --gecko false",
The build should be green afterwards and you can easily follow along step-by-step and make sure that the build stays green.
Changing the name of the package
Changing the name of the package is straightforward if it's not supposed to be a scoped NPM package. Simply search and replace all occurrences of quickstart-lib and replace them with the desired name.
When using a scope, this is a bit tricky: occurrences where "quickstart-lib" is used as the module id need to be replaced with the scoped package name, occurrences where "quickstart-lib" is in a filename such as quickstart-lib.js need to be replaced with the unscoped name.
You can use your favorite tool and the following regular expressions to perform the replacement (adapt the desired name accordingly and exclude the README.md):
replace quickstart-lib([^\.]) by @itemis/demo-angular-lib$1
replace quickstart-lib(\.) by demo-angular-lib$1
The diff should look like this commit.
You will also need to adapt the build.js in the root folder and replace the line:
const libName = require('./package.json').name;
by
const libNameWithScope = require('./package.json').name;
const libName = libNameWithScope.slice(libNameWithScope.indexOf('/') + 1);
in order to fix the build.
Publishing your Angular library using Travis
Now that the package has a proper name it's time to publish its first version.
Many tutorials dealing with publishing NPM packages suggest calling npm publish directly from the developer's machine. In my opinion this is not a good approach as it is error-prone (one might forget adding a tag for the release), less transparent and adds a dependency to a certain machine setup (the locally installed API token). It's best to have an automated deployment process in place right from the beginning. If you're lucky enough to develop an open source project (or have a private plan) you can use Travis for publishing your NPM module.
The basic steps are properly documented. Assuming the Travis CLI is installed on your machine you can simply call:
travis setup npm
Answer the following questions honestly and retrieve your NPM api key from the .npmrc in your user home. If there is none yet run npm login from your command line and use the credentials from your npmjs.com login. You might also create and use a technical user.
Note that for regular projects the release should be done from the master branch - unlike in this example project where there is example code for multiple blog articles in different branches.
$ travis setup npm
Detected repository as itemis/itemis-blog, is this correct? |yes|
NPM email address: franz.becker@itemis.com
NPM api key: ************************************
release only tagged commits? |yes|
Release only from itemis/itemis-blog? |yes|
Release from angular-quickstart-lib branch? |yes|
Encrypt API key? |yes|
The process will edit your .travis.yml and add a deployment section at the end. Since our library code that should be deployed resides in the dist/ folder we'll need to tweak it a little and add the following lines:
# deployment
after_success:
  - cd dist/
deploy:
  skip_cleanup: true # stay in working dir (dist/)
  ...
The NPM registry assumes that scoped packages are private by default. So when releasing a scoped package that is open source and should have public access, you will also need to add the following lines to your package.json:
"publishConfig": {
  "access": "public"
},
Make sure that your project is activated on Travis and push your changes. The build should run smoothly.
Now, for triggering a release you can either use the standard-version as intended by the original seed project or use a slightly simpler release process using npm version.
Simply remove the release section from your NPM scripts and add:
"postversion": "git push && git push --tags"
Afterwards call
npm version 0.1.0
to trigger your first release and NPM deployment. Travis will gladly pick up the created tag and deploy our new library to the NPM registry.

Using the library in your Angular application
It's very simple to integrate the new library in any existing Angular 4 application. For demonstration purposes, create a new project using the Angular CLI:
ng new my-app
cd my-app
npm i @itemis/demo-angular-lib
ng serve
Edit the app.module.ts and add the LibModule to the module imports:
...

import { LibModule } from '@itemis/demo-angular-lib';

@NgModule({
  ...
  imports: [
    ...
    LibModule
  ],
  ...
})
export class AppModule { }
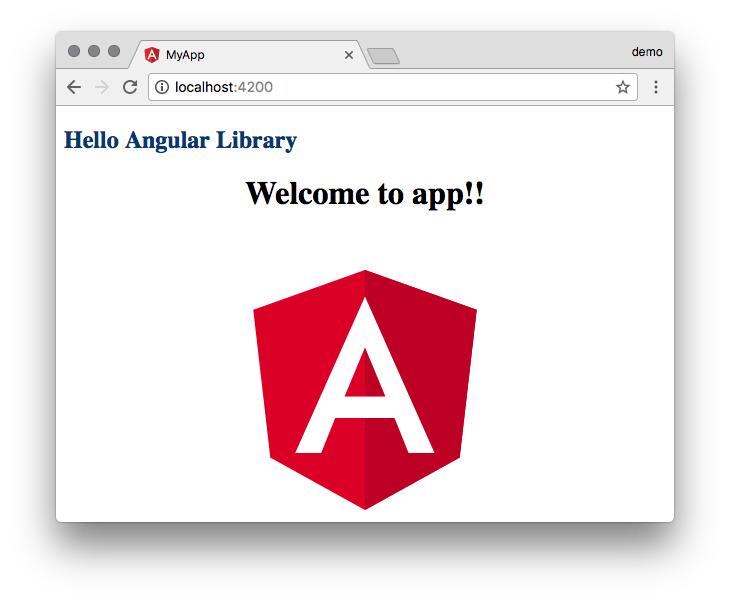
And finally see the <my-lib></my-lib> tag to the app.component.html. You can immediately see the result:
 Summary
This concludes the first part of this two-part series. We saw how to setup, rename and publish our first Angular library and are now ready to implement some real functionality. The next part of this series will show you how to develop a proper service.

Comments