With this post I'll show you how to create a new Xtext project in IntelliJ IDEA. I show you how to compile and start editors tailored to your languages for testing. Within IDEA Xtext offers the creation of such language-specific editors for the IntelliJ IDEA platform as well as in web browsers.
But before we get started, download IDEA, and install Xtext from one of our update sites. If you're familiar with that you may skip the following part and continue with creating a new Xtext project.
Installing Xtext
Start IDEA and open the Plugins dialog via the Configure menu.
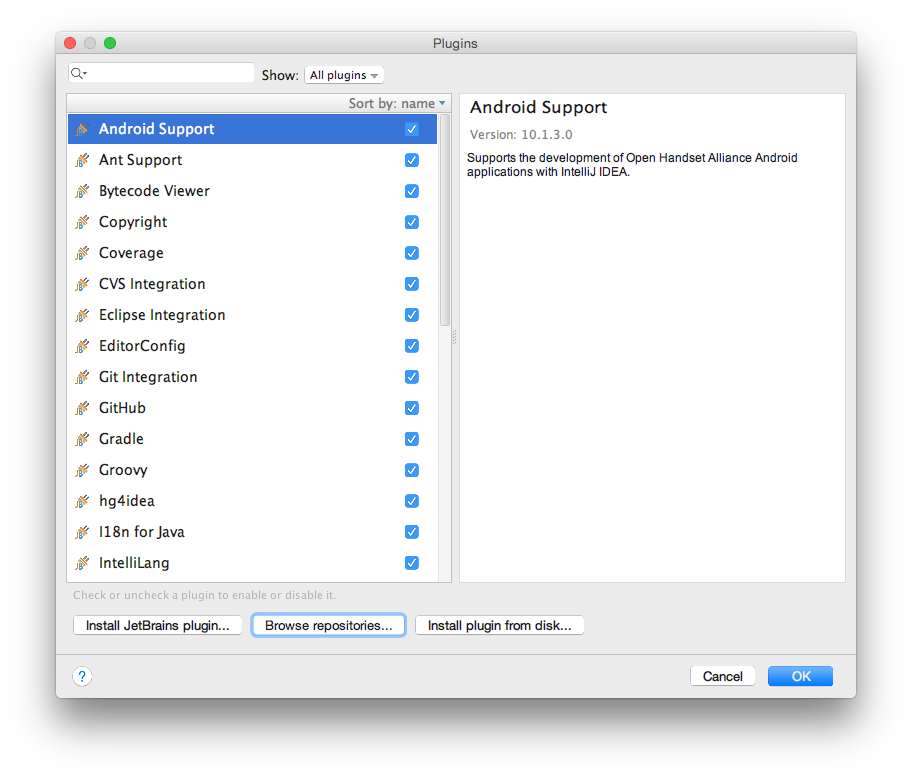
Hit Browse repositories… → Manage repositories…
… and enter the update site of your choice.
Select the Xtext update site, …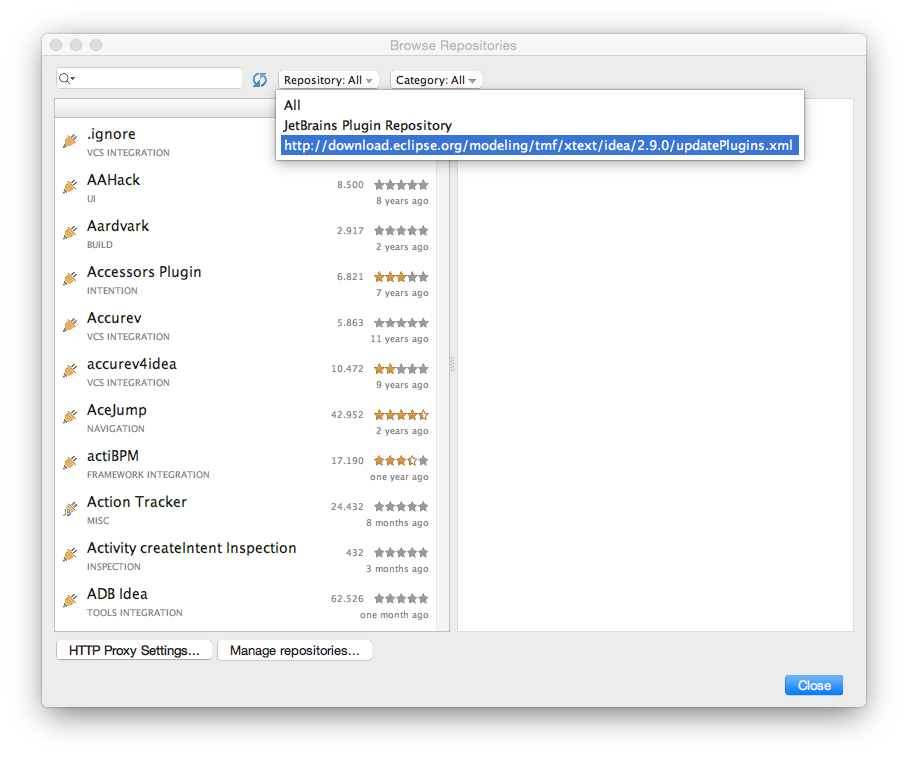
… select all the offered plugins, and hit Download and Install.
Once the installation is done restart IDEA, e.g. by selecting one of the plugins and hitting Restart IntelliJ IDEA. 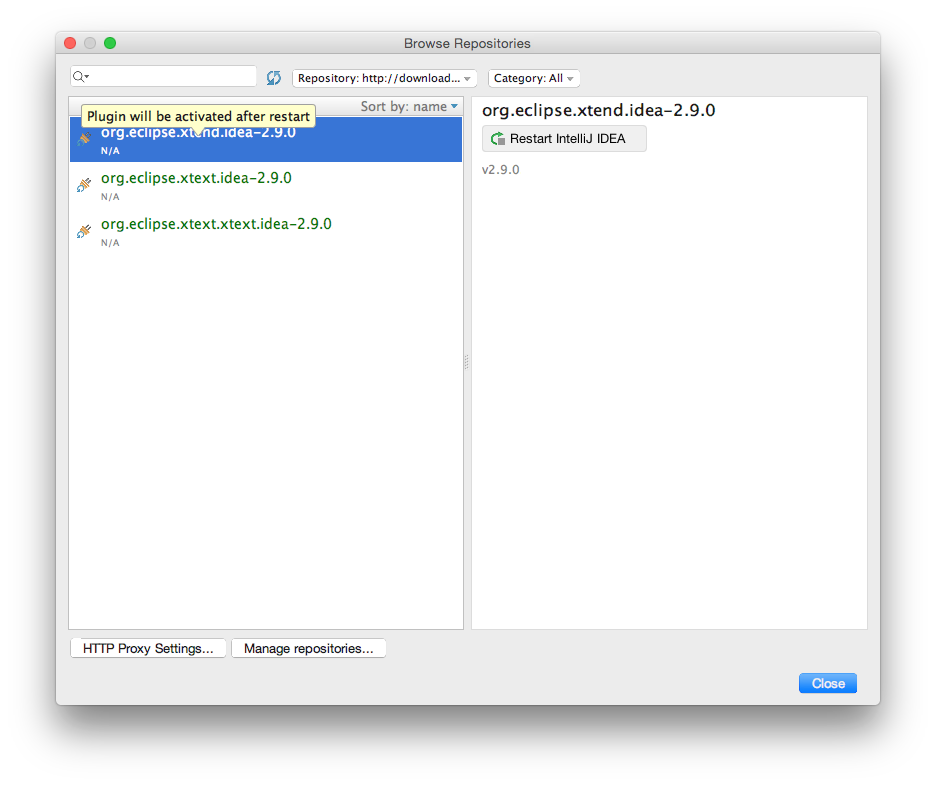
Creating a new Xtext project
Start the Xtext project wizard by selecting Create New Project.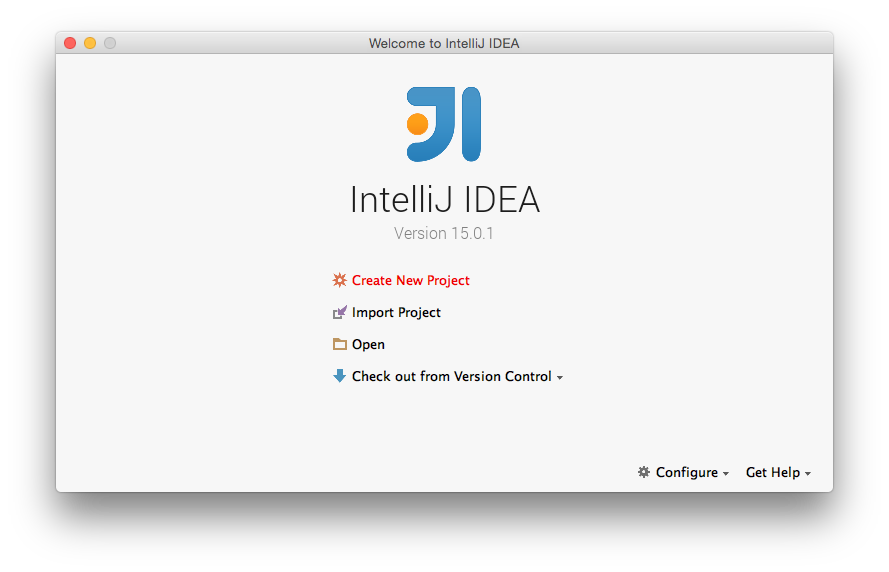
Select Xtext in the list on the left. Choose you favorite Java SDK, check the Web integration and Testing support for this tutorial, keep remaining settings, and go the next page.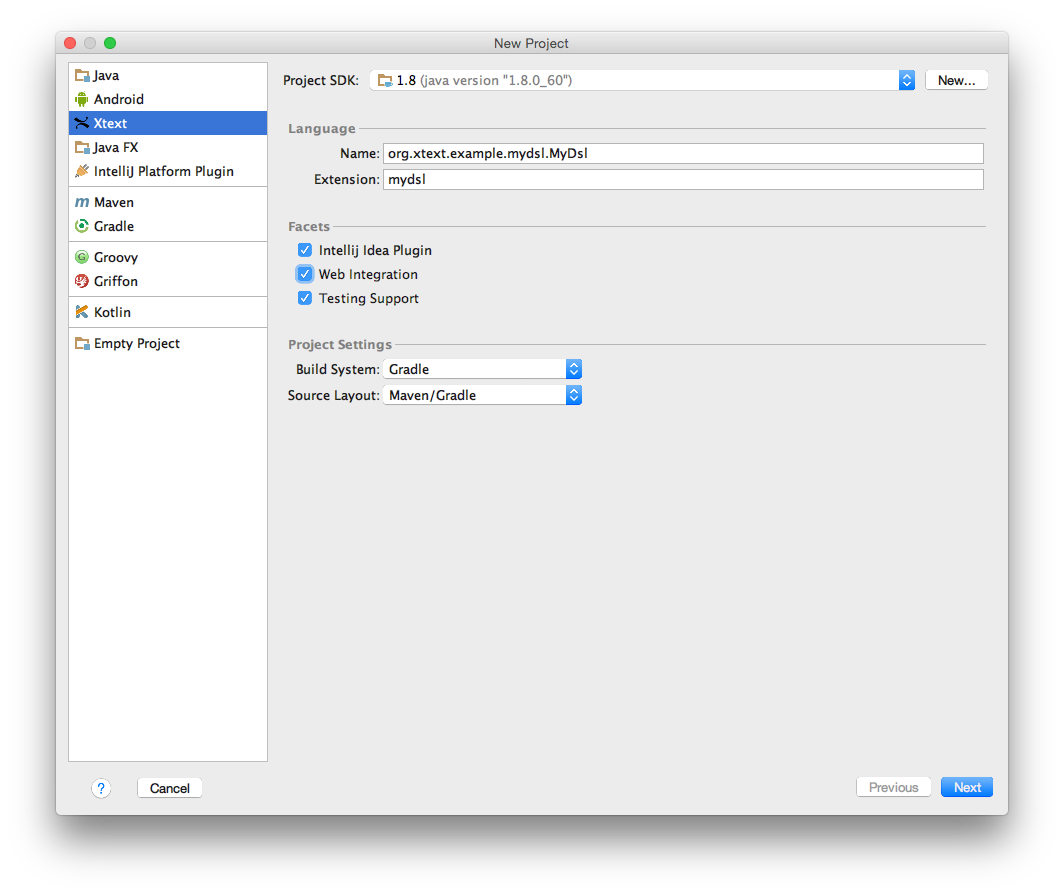
Change the Project Name to org.xtext.example.mydsl, and finish.
Gongrats! Your first Xtext project is set up, now. Find the generated grammar stub within the sub project org.xtext.example.mydsl → src → main → java → org.xtext.example.mydsl, as shown in the screen shot below.
Launch your editor in IDEA
The generation of your DSL-specific parser and editor infrastructure can be easily invoked by means of our dedicated Gradle extensions. Hence, open the Gradle projects view, e.g. via the magic button in the lower left corner of the IDE. Make sure to have an active Internet connection and access to the JCenter artifact repository, since required artifacts will be downloaded during the first run. Make also sure to have Gradle working in online mode, which can be set in Preferences… → Build, Execution, Deployment → Build Tools → Gradle by unchecking Offline work.
Try out the Web editor
For testing the web editor a local web server needs to be started. That can be launched by means of the Gradle build system, too. Thus, open the Gradle projects view as shown above. Again, make sure to have an active Internet connection and access to the JCenter artifact repository, since required artifacts will be downloaded during the first run. Make also sure to have Gradle working in online mode, which can be set in Preferences… → Build, Execution, Deployment → Build Tools → Gradle by unchecking Offline work.
Expand the items named org.xtext.example.mydsl.parent → Tasks → run and hit jettyRun. A bunch of required components is downloaded first, and after successful compilation a Jetty web server is launched. It is accessible via the URL printed in the Run tool view.
Open that URL in your favorite browsers, click into the text field, and enter sample text Hello Xtext! Hello World!
Check out the content assist by hitting Ctrl/Cmd + Space.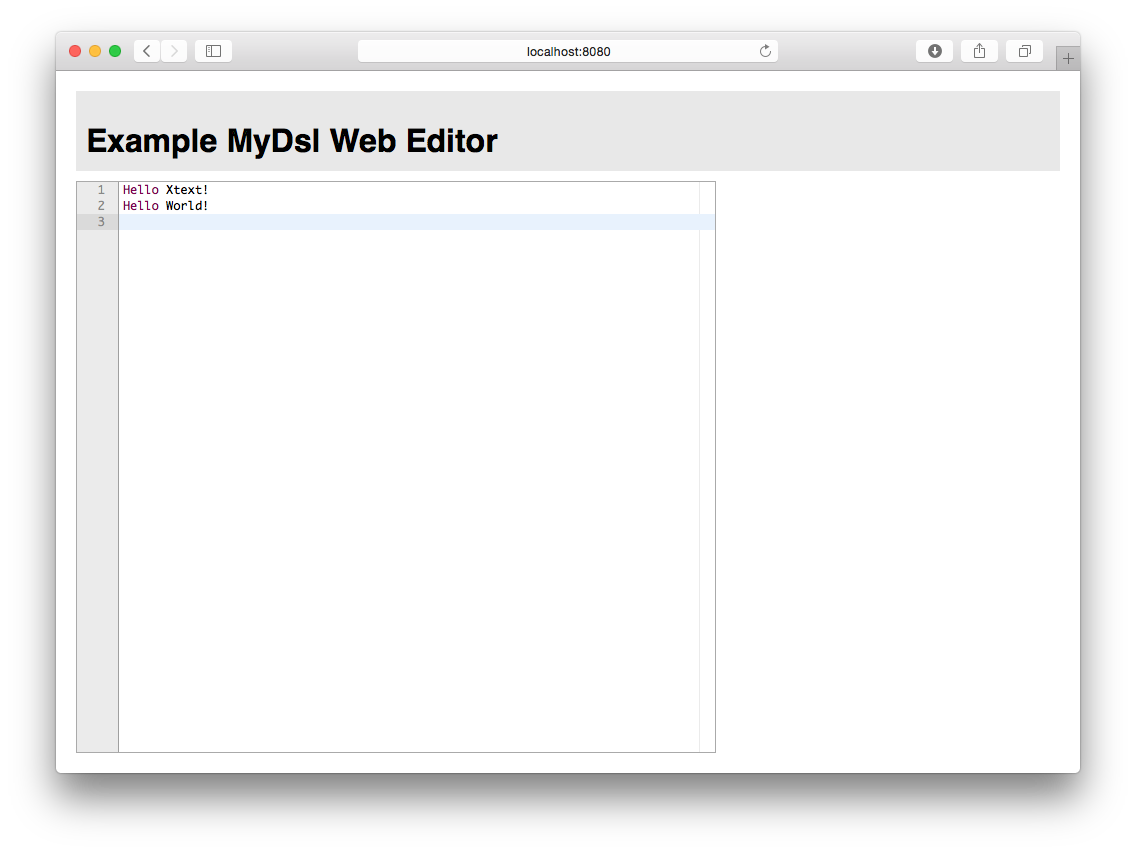
To stop the web server hit the red stop button on left of the Run tool view of IDEA or go to IDEA’s main menu → Run → Stop.
Conclusion
In your first five minutes with Xtext and IDEA, you have learned how to create a valid set of projects for building editors for your DSLs. You have run Xtext’s code generation and compilation by means of the Gradle build system. That allows you to test the generated editors implementing your DSLs.
Next up you should go through the more comprehensive Domain Model Example. It explains the different concepts of the Xtext grammar language and illustrates how to customize various aspects of the language.


Comments